Introduction
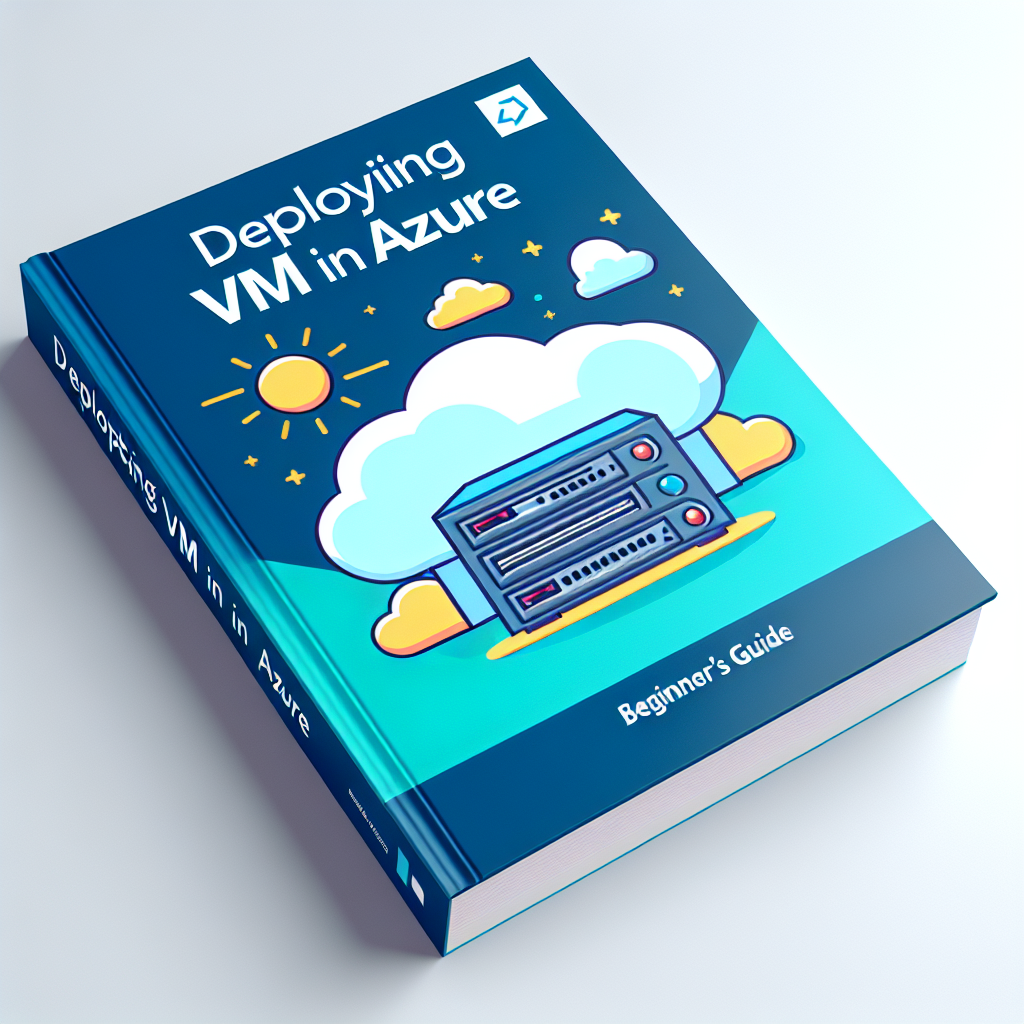
Virtual machines are the core of cloud computing and allow you to run operating systems and applications without investing in physical hardware. In this practical, translated, and adapted guide, you will learn how to deploy and configure a Windows 10 virtual machine in Microsoft Azure, from creating the resource to connecting via RDP and managing disks.
Learning objectives
Provision a Windows 10 VM in Azure
Assign access permissions securely using role-based access control (RBAC)
Attach and format an additional data disk
Access the VM via RDP and perform disk management tasks
Step 1: Create the virtual machine in Azure
Prerequisite: have an active Azure subscription. Access the Azure portal, search for Virtual Machines, and select create new virtual machine. Follow the wizard to start the configuration.
Step 2: Configure the basics
Create or select a resource group, for example IbrahimRG. Assign a name to the VM, for example IbrahimVM. Choose the region closest to your users or workload and, if required, an availability zone for resilience.
Under Image, select Windows 10. Create an administrative username and password. Under inbound port rules, allow RDP for remote access and, as needed, HTTP or HTTPS. Accept the licensing checkbox when applicable.
Step 3: Monitoring and tags
In the Monitoring tab, you can disable Boot diagnostics if you want to reduce boot logs during testing. In Tags, add key-value pairs to facilitate cost control and classification, for example Department HR, Purpose Hire, Staff Oladosu.
Step 4: Review and create
Review the validation performed by Azure and, if everything is correct, create the VM. When the deployment finishes, open the resource to continue with the configuration.
Step 5: Assign IAM access roles
To allow specific users to log in to the VM, go to the resource's Access control (IAM). Add a role assignment and search for Virtual Machine Administrator Login or the role that fits. Select the members and assign the role so those users can authenticate to the VM using the provided credentials.
Step 6: Configure IP idle timeout
In the VM's Overview panel, click on the public IP address and, in Configuration, increase the Idle timeout in minutes, for example to 30. Save the changes to avoid premature disconnections in RDP sessions.
Step 7: Attach and create a data disk
In the VM's Disks menu, select create and attach a new disk. Give it a descriptive name, for example ibrahim-disk, and apply the creation. The disk will be added to the machine and will be ready to format from the guest operating system.
Step 8: Connect via RDP
In Overview, click Connect and select RDP. Download the rdp file, open it, and connect by entering the created username and password. Accept certificates and security prompts to complete the remote session.
Step 9: Format the disk from the VM
Inside the VM, search for Disk Management or Create and format hard disk partitions. Locate the newly added disk, usually Disk 2, create a new simple volume, assign a drive letter, and finish the wizard. The new volume will be ready to store files and application data.
Best practices and security
Use RBAC to control access and avoid opening unnecessary ports in the network security group. Maintain periodic backups and apply patching policies. For production environments, consider separate virtual networks, NSGs, and cybersecurity solutions to protect infrastructure and custom applications.
About Q2BSTUDIO
Q2BSTUDIO is a custom software and application development company specialized in comprehensive solutions that include custom software, artificial intelligence, cybersecurity, and AWS and Azure cloud services. We offer business intelligence services, AI for businesses, AI agents, and Power BI consulting to transform data into decisions. Our team creates secure and scalable custom applications with artificial intelligence approaches applied to process optimization and predictive analytics.
Keywords for positioning
custom applications, custom software, artificial intelligence, cybersecurity, AWS and Azure cloud services, business intelligence services, AI for businesses, AI agents, Power BI
Conclusion
This hands-on project guides you through the entire lifecycle of a VM in Azure: creation, access control, monitoring, timeout adjustment, attaching and formatting disks, and remote access via RDP. These skills are fundamental for cloud engineers and IT professionals who manage infrastructures in Azure and other clouds like AWS. If you need a professional implementation, integration with business intelligence solutions, or custom software development, contact Q2BSTUDIO to design the architecture and services that best fit your company.