
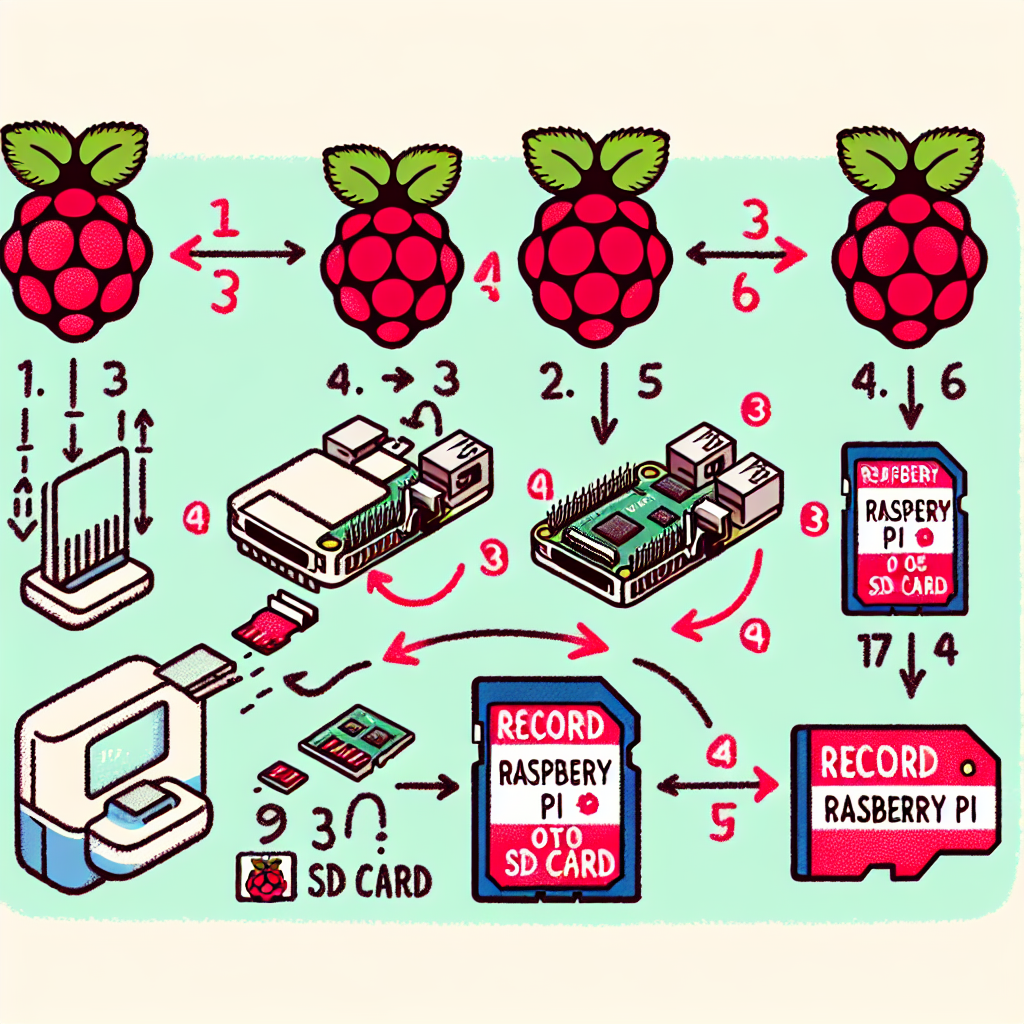
Flashing Raspberry Pi OS onto an SD card is simple and can be done on Windows, macOS, and Linux. Below is a step-by-step explanation of how to do it, along with recommendations and solutions to common problems so your Raspberry Pi boots without a hitch.
What you need
A microSD of 8 GB or more; Class 10 or UHS-I is recommended for better performance.
A microSD card reader if your computer does not have one built in.
Raspberry Pi Imager as the official tool or BalenaEtcher as an alternative.
The Raspberry Pi OS image downloaded from raspberrypi.com/software.
Method 1 Using Raspberry Pi Imager (the easiest)
Download and install Raspberry Pi Imager on Windows, macOS, or Linux.
Open the application and click on Choose OS to select Raspberry Pi OS or a variant like Lite if you are going to use the Pi without a monitor.
Insert the SD card into the computer and click Choose Storage to select the correct card.
Click Write to start flashing. Note that this will erase the SD card. The process takes between 5 and 15 minutes depending on the speed of the reader and the card.
When it finishes, safely eject the card, insert it into the Raspberry Pi, and power it on.
Method 2 Manual flashing (advanced)
On Windows with BalenaEtcher: download the .img.xz image of Raspberry Pi OS from raspberrypi.com, install BalenaEtcher, open Etcher, select the image, choose the SD card, and click Flash.
On macOS and Linux with dd: first locate the SD card device using diskutil list on macOS or lsblk on Linux. Typical examples are /dev/disk2 on macOS or /dev/sdb on Linux.
Unmount the card but do not remove it: on macOS use diskutil unmountDisk /dev/disk2 and on Linux use sudo umount /dev/sdb*.
Flash the image with dd, replacing the device with your own: sudo dd bs=4M if=~/Downloads/raspios.img of=/dev/disk2 conv=fsync status=progress
When it finishes, safely eject the card and boot the Pi.
Optional post-configuration
Enable SSH for headless boot: before booting the Pi, create an empty file named ssh in the boot partition to automatically activate the SSH server.
Configure Wi-Fi for headless boot: create a file named wpa_supplicant.conf in the boot partition with your network details. Example content with fields to replace with your network: ctrl_interface=DIR=/var/run/wpa_supplicant GROUP=netdev; country=US; network={ ssid=YourWiFiNetwork psk=YourPassword }
Troubleshooting
SD card not detected: try another USB reader or another port; some cheap readers fail.
The Pi does not boot: re-flash the card due to possible corruption; try another card if errors persist.
Slow performance: use a UHS-I or U3 card and a good quality reader to improve boot times and responsiveness.
Final tips
Your SD card is now ready. Insert the card into the Raspberry Pi, power on the device, and follow the setup wizard. If you are deploying enterprise solutions, integrate good security practices such as changing default passwords and keeping the system updated.
About Q2BSTUDIO
Q2BSTUDIO is a software development company specialized in custom applications and custom software for businesses of all sizes. We offer professional services in artificial intelligence, AI for businesses, and AI agents to automate processes and improve decision-making. We also cover cybersecurity, AWS and Azure cloud services, and business intelligence services with tools like Power BI for visualization and analysis. If you need to integrate Raspberry Pi into IoT projects or deploy embedded solutions with artificial intelligence capabilities, at Q2BSTUDIO we design, develop, and deploy complete solutions tailored to your needs.
Keywords for positioning and services we offer: custom applications, custom software, artificial intelligence, cybersecurity, AWS and Azure cloud services, business intelligence services, AI for businesses, AI agents, Power BI.
If you want us to help you prepare custom Raspberry Pi images with preinstalled configurations, cloud service integrations, or automated deployments managed by Q2BSTUDIO, contact us and we will advise you on the best architecture and workflow for your project.